


Chapter 1 of 4 · Surgical Management
Positioning & anesthesia
Patient positioning and anesthesia setup for thoracoscopic EA/TEF repair
Expert statements on this page
No expert statements were drawn from this page.
Host summaries · secondary, not cited in answers
Educational content from recorded physician discussions — not medical advice. Talk to your (or your child's) care team about your situation.
Video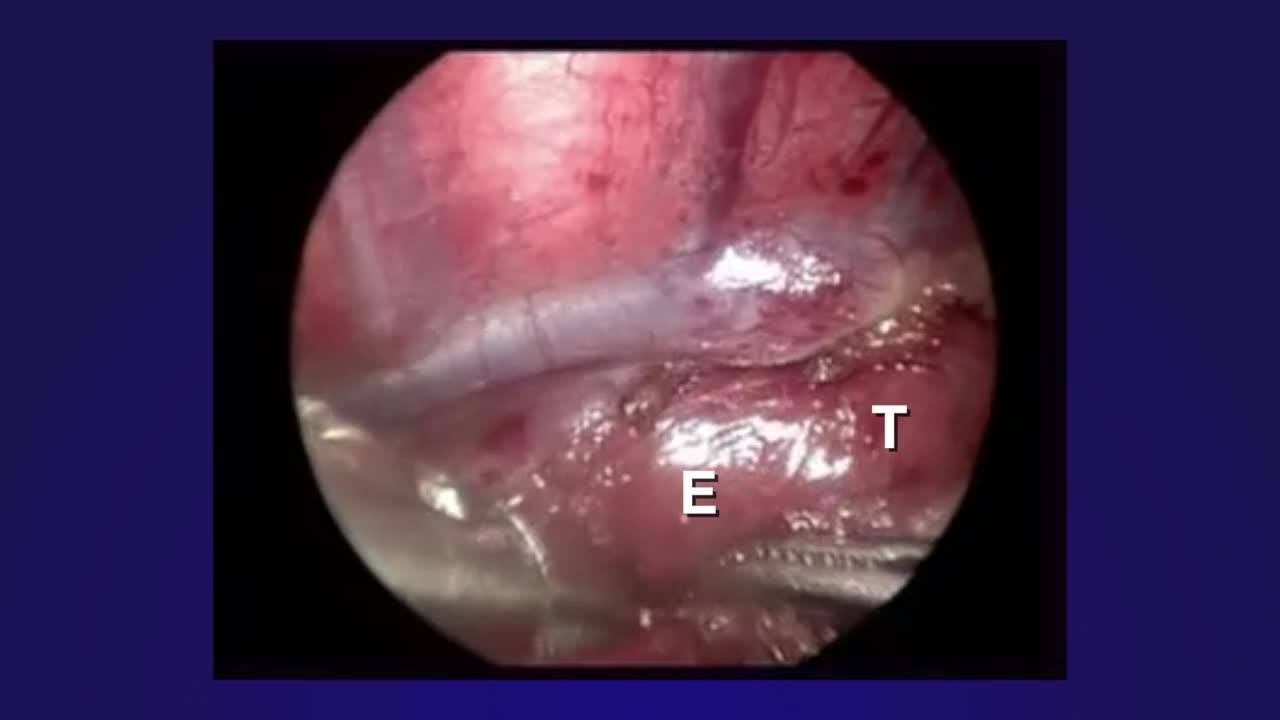
Thoracoscopic Repair of Esophageal Atresia with Distal Tracheo-esophageal...
5 min · Published Feb 2020
Video
EA/TEF Discussion & Technique: Difficult Cases
19 min · Published Dec 2013
Video
Thoracoscopic Repair of Tracheo-esophageal Fistula Tricks: Pediatric Surgery...
19 min · Published Jul 2017
Video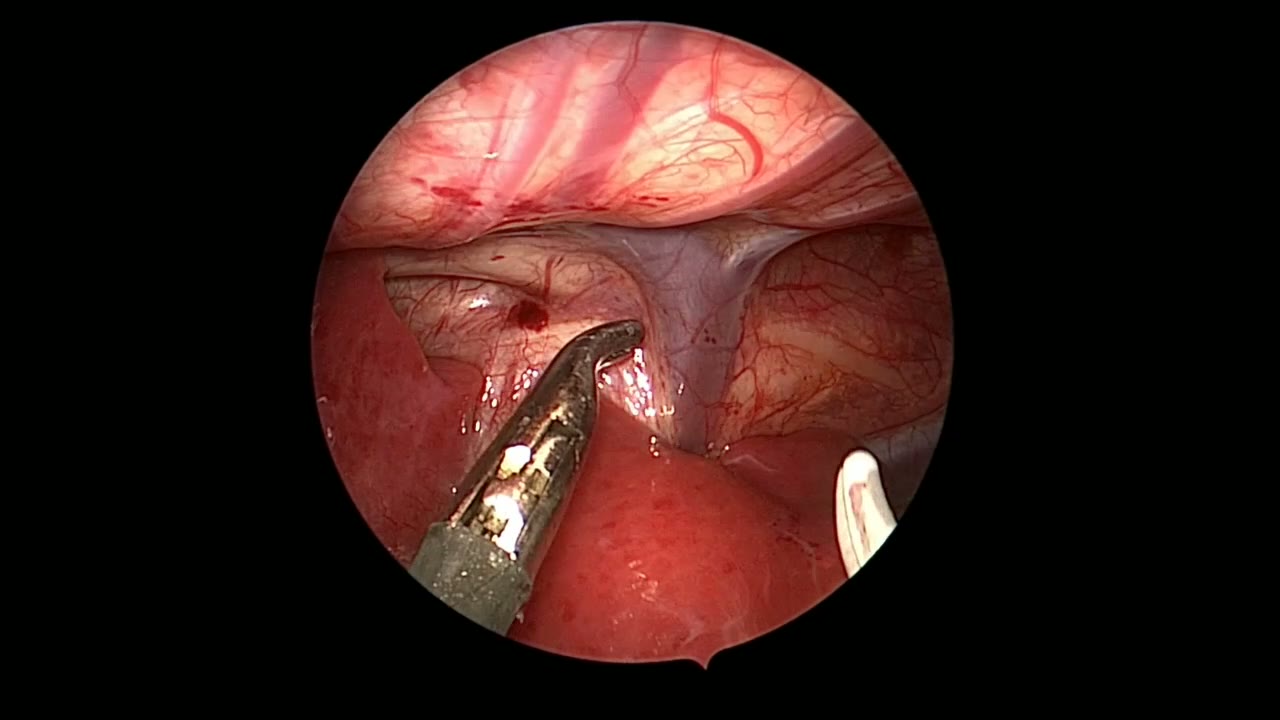
Thoracoscopic Tracheoesophageal Fistula Repair: Upper Pouch Mobilization and Anastomosis
Dr. Steve Rothenberg · 2 min · Published May 2026
Video
Long Gap Technique Videos: EA & TEF
Dr. Steve Rothenberg · 17 min · Published Dec 2012
Video
Esophageal Atresia/Tracheoesophageal Fistula Bronchoscopy and Surgical Technique
Dr. Todd Ponsky · 16 min · Published Nov 2021
Video
Laparoscopic Mesenteric and Short Gastric Dissection with a Vessel Sealer
Dr. Steve Rothenberg · 3 min · Published May 2026
Video
Laparoscopic Pyloromyotomy with a Reusable Handle and Disposable Blade
Dr. Steve Rothenberg · Published May 2026
Video
Thoracoscopic Stapling of the Left Lower Lobe Pulmonary Artery with a 5 mm Stapler
Dr. Steve Rothenberg · 9 s · Published May 2026
Video
Laparoscopic Plication of a Right Diaphragmatic Eventration in a 3-Month-Old
Dr. Steve Rothenberg · 6 min · Published May 2026
Video
Laparoscopic Redo Nissen Fundoplication in a 30 kg Child with the 3 mm Percuvance System
Dr. Steve Rothenberg · 5 min · Published May 2026
Video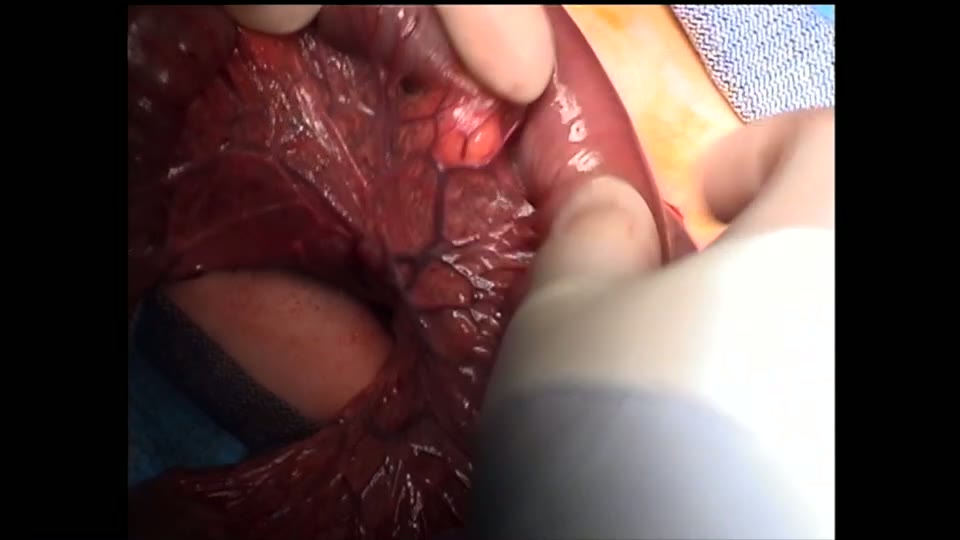
Open Bowel Anastomosis
Dr. Steve Rothenberg · Published May 2026
Video
Intestinal Atresia Types Explained: Grossfeld Classification for Pediatric Surgery
1 min · Published Sep 2026
Video
Derivation and validation of the Pediatric Community-Acquired Pneumonia Severity (PedCAPS) score: A prospective cohort study
50 s · Published Sep 2026
Video
FETO for Late-Diagnosed Severe Congenital Diaphragmatic Hernia (CDH) at Cincinnati Children's with Dr. Beth Rymeski
4 min · Published Sep 2026
Video
Severe Congenital Diaphragmatic Hernia (CDH) Case: FETO Management & Unexpected Findings with Dr. Beth Rymeski
3 min · Published Sep 2026
Video
Fetoscopic Endoluminal Tracheal Occlusion (FETO) Procedure: Step-by-Step Guide with Dr. Beth Rymeski
4 min · Published Sep 2026
Video
Choledochal Cyst Types Explained: Pediatric Surgery Fundamentals
1 min · Published Sep 2026
What the experts said
Single-lung ventilation is not required for thoracoscopic EA/TEF repair; CO2 insufflation can be used to collapse the lung and achieve exposure.
CO2 insufflation pressure starts at 4-8 mmHg, usually requires 8 mmHg initially, then can be reduced to 4 mmHg once the lung is collapsed, with flow of 1-2 L/min.
Modified prone position with right side elevated 30 degrees is preferred over lateral decubitus because the collapsed lung falls away by gravity, eliminating the need for lung retraction.
The procedure uses three ports: one for camera and two for operating instruments, without need for lung retraction.
Camera port (3 or 4 mm) should be placed posterior to the tip of the scapula, slightly below scapula level, to look down on the fistula and operating hands.
Right-hand operating port is placed in the axilla; left port is more posterior to achieve 90-degree angle triangulation at the anastomosis site.
The azygous vein is divided using hook cautery.
Fistula ligation is performed with a clip because it is the fastest method.
Clip migration into the trachea or esophagus has been reported by some surgeons, though the speaker has not experienced this complication.
A single-layer anastomosis is performed using 5-0 PDS or Vicryl suture.
Back-row sutures are tied intraluminally, then a replogle tube is placed, followed by front-wall sutures tied extraluminally.
The azygous vein is divided with hook cautery by burning it first, then dividing with scissors rather than cauterizing completely through with the hook.
The fistula can be followed all the way down to the membranous trachea, allowing very close ligation at the back wall of the trachea.
The fistula is not divided immediately after clipping to prevent retraction and difficulty finding it; it is divided after upper pouch dissection.
The plane between trachea and esophagus can be visualized well and dissected with combination of blunt and sharp dissection, extending up to the thoracic inlet and neck if needed for length.
The technique leaves a very minimal pouch on the trachea; large residual pouches can cause problems with mucus and bacteria accumulation requiring reoperation.
The first suture is placed in the middle of the back (medial) wall using PDS suture with no tension.
A TF (tracheoesophageal fistula) needle is used, which is very small; either 4-0 or 5-0 suture can be used.
Four or five stitches are placed in the back row.
At the corner stitch, the technique switches from intraluminal to extraluminal knot tying.
A 10 French replogle tube is passed down into the stomach before completing the front row.
The front row consists of about four sutures.
The replogle tube prevents catching the back wall during front-row suturing.
Dr. Spitz uses a 6 French feeding tube (not a replogle) for feeding in the first few days after esophageal repair.
Jack leaves a 5 French feeding tube for feeding and to protect the back wall during anastomosis.